Death Penalty Experiment Quick Reference
Name, type, expected deaths, and a one-line tip--then short notes when you need more than a glance.
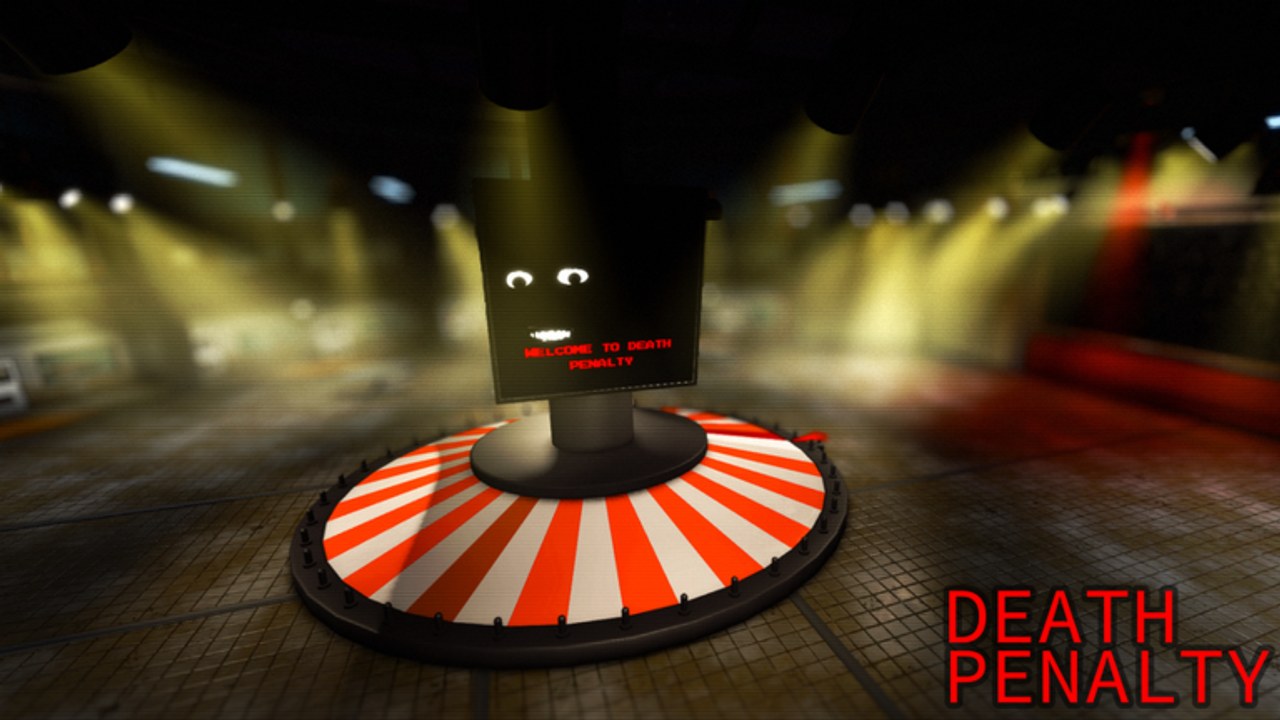
Keep this page open during Death Penalty rounds. When the wheel lands, find the row, apply the tip, and move. For rankings and “should I Force this?” questions, use the Experiment Danger Tier List. For full mechanics and edge cases, open All Experiments. Habit tracking lives on the Survival Checklist.
Type key: RNG = selection or pads decide with little skill. Skill = reaction, aim, parkour, or Simon parsing. Social = votes, deals, nominations. Some modes blend tags—primary tag listed first.
Quick-reference table
| Experiment | Type | Deaths expected | Tip |
|---|---|---|---|
| Random Execution | RNG | 1 | No play—pray or lean on Immunity. |
| Favorites | Social | 1 | Pitch saves; vote with a bloc. |
| Duel | Skill | 1 (or 2 if nobody shoots) | Wait for green; never ego-spam early. |
| Split or Steal | Social | 0–2 | Distrust pubs; mutual Steal kills both. |
| Dropper | Social / RNG | 1 | Decide fast if you are Dropper; stay off hate lists. |
| Timebomb | Skill / panic | 1 | Pass immediately; do not pocket it. |
| Murderer | Skill / stealth | 0–many | Break LOS; Murderer knife is temporary. |
| Water Tank | Social / RNG | 0–3 | Talk hard if trapped; pads raise water. |
| Simon Says | Skill | many possible | Obey Simon prefix only; do not shoot finale guns. |
| Linked | RNG / social | shared risk | Move as a pair until the late break. |
| Handout | RNG / skill | 0–1+ | Respect the one-shot revolver holder. |
| Five Buttons | RNG | usually 1 | Commit to a pad; timeouts also kill. |
| Last Pick | Social | 1 | Keep yourself in the nomination chain. |
| Massacre | RNG | 1–10 | Pure lottery—no hero play. |
| Chaos | Skill | down to 1 | Cover first; do not Force into huge lobbies. |
| Revive | Utility | 0 | Reassess threats when a ghost returns. |
| Showdown | Skill | 1 of 2 | Final two—weapon roulette, finish the fight. |
| Finders Keepers | Skill | 0–many | Rush known spawn desks/drawers. |
| Challenge | Skill | challengers vary | Blue = safe skip; orange = obby or die trying. |
Counts are typical, not patched guarantees. Always listen to the live announcer.
Expanded notes — RNG cluster
Random Execution opens many lobbies. One name dies. Counterplay is macro: own protection from the Collar & Item Tier List and refuse to dump Volts tilting afterward.
Five Buttons is button roulette—one lethal among five, chain continues on safe presses, and stalling can still execute you. Never Force this for “fun” unless the lobby agrees it is a meme night.
Massacre rolls a body count and deletes that many subjects. Treat it like weather. Update How to Survive habits instead of inventing fake tech.
Linked ties two players; shared death risk until late unlinks. If paired with a chaotic teammate, play conservative modes and avoid their Chaos cosplay.
Expanded notes — skill cluster
Duel: Red light → green light revolver race. Early click punished; mutual cowardice usually double-kills. Deep dive: Duel. Strong players Force this (~400 Volts commonly cited) as a deletion tool—budget via Volts and Boosts.
Simon Says: Childhood rules with lethal collars. Fake commands without “Simon says” are bait. Finale guns on unprefixed “kill someone” are a trap—firing executes you. Drill: Simon Says.
Showdown: Mandatory when two remain. Weapon wheel (knife / revolver / pistol / rifle), darkened fight, unlimited pressure until one survivor. Headshots matter on guns.
Chaos: Free-for-all Showdown energy, often Force-gated at a high Volt price. Fun highlight, terrible mid-lobby investment.
Challenge: Blue scaffold skips; orange joins the timed obby. First finisher lives (and may earn a disposable revolver); zero finishers = all challengers die. Be honest about your parkour.
Finders Keepers / Handout: Gun politics. Finders spawns limited weapons in rooms; Handout gifts a lethal disposable revolver to a wheeled subject. Soft objectives: get the gun or never share a hallway with it.
Timebomb: ~30-second pass-the-TNT. Movement and proximity beat bravado. Holding at zero is a free death—panic tier on the danger list.
Murderer: Knife window under red lights. Not always a mandatory kill quest—use uncertainty. Your job as prey is distance and corners, not chatting in the open.
Expanded notes — social cluster
Favorites: Three nominees, lobby saves the popular, lowest support dies. Early helpful plays are insurance premiums.
Split or Steal: Both Split live; one Steal murders the Split and may arm the traitor; both Steal die together. Reputation carries across later votes.
Last Pick: Nomination chain after a seed pick; unchosen inmate is executed. Timer failures can scramble results—move your cursor before philosophy class.
Dropper: Chosen judge must cull someone on the traps or die on the timer. Social memory matters; griefers remember chat warriors.
Water Tank: Three inside, outsiders stomp to flood. If sealed, negotiate fast. If outside, drowning that trio is a strategic choice, not an obligation.
Revive: Not a killer—returns a dead subject still in server. Recalculate Favorites and Duel threats the moment the drawer opens.
How to use this reference with the rest of the wiki
- Wheel announces → table tip.
- Survived but confused → expanded note.
- After match → danger tier + collar economy pages on the Tier List Hub.
- Still fuzzy on rules → All Experiments.
- Building habits → Survival Checklist and Tools Hub.
This board will not aim for you. It will stop the unforced errors that end more runs than “bad luck” stories admit—shooting Simon finale guns, pocketing Timebombs, and Forcing Chaos because the button looked tempting.
Frequently Asked Questions
Quick answers for Death Penalty survivors.
Is this table complete for every patch?
It covers the standard experiment set players see in public lobbies. After major updates, cross-check All Experiments for new modes or rule tweaks.
What does Deaths expected mean?
A typical outcome range for a normal lobby, not a guarantee. Modes like Murderer or Chaos can swing wider.
Where should I look for Force Experiment advice?
Use the Experiment Danger Tier List and Collar & Item Tier List together, plus Volts and Boosts for budget rules.
Can I rely on this alone as a beginner?
Use it live, then read Getting Started and How to Survive between matches so the one-liners have context.